A Guide to Germination
We are all about education here at Eighth Brother. In this short guide we will show you how to germinate and plant your seeds. This guide is ideal for any beginner or novice.
Storing Your Seeds Properly
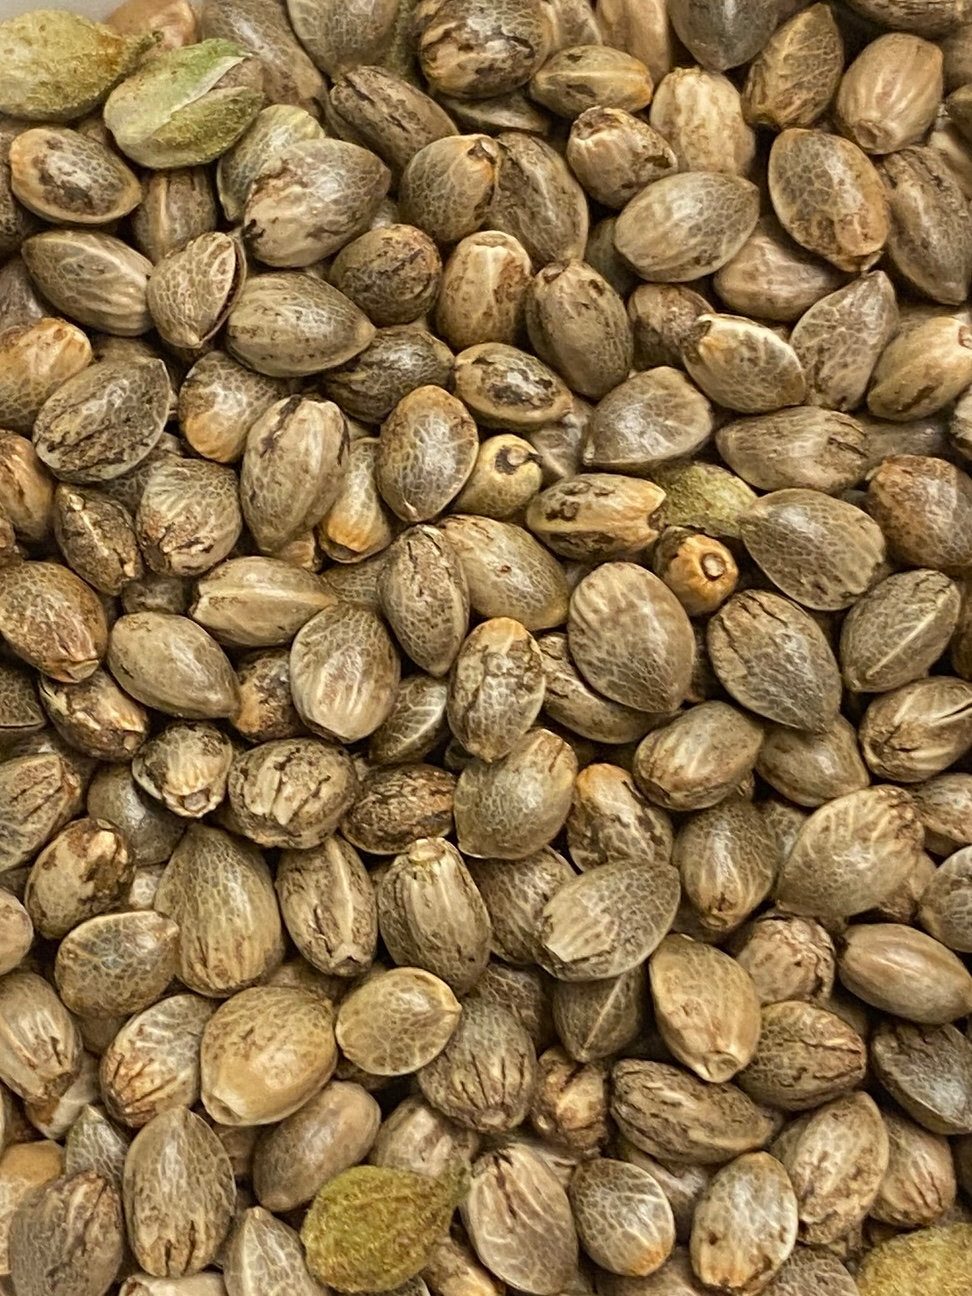
Your seeds will determine the strength and resiliency of your plants, storing your seeds properly is crucial to the health of your seedlings. Make sure to store your seeds somewhere cool and dry, and avoid using seeds that are crushed or damaged. Viable seeds are, light to dark brown, they should be dry and hard with no cracks. Always used distilled or filtered water to germinate your seeds for the best results.
Identifying Viable Seeds
If you are working with seeds that were harvested from a female plant or are unfeminized, you may need to check to make sure your seeds are good. Immature seeds will appear smaller, white in color, or misshapen; Healthy, mature seeds will be round and dark
Germination
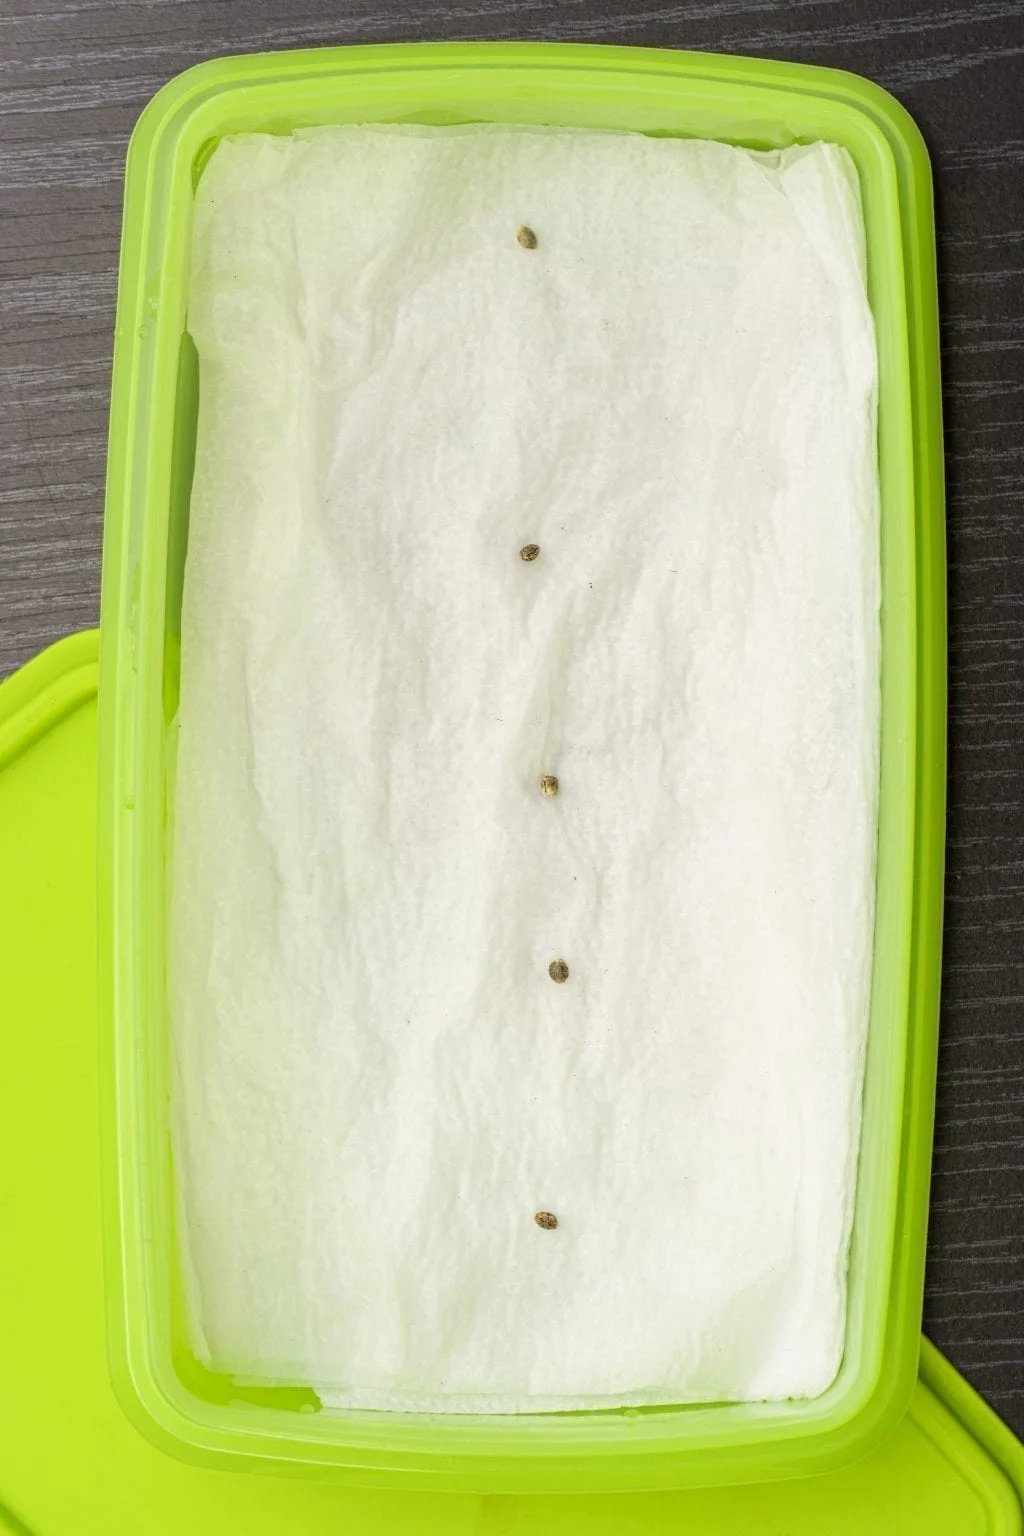
Now that you have selected healthy seeds, it is time to germinate them. This process prepares the seed to be planted by helping it absorb water and take root. It can sometimes help this process to soak your seeds in water for about 12 hours beforehand. To germinate your seeds, put lay them in between two damp paper towels and leave them in a cool dark place for 48-72 hours, continue to check and ensure the towel stays damp through the entire process. The ideal germination temperature is about 78 degrees.
How to plant
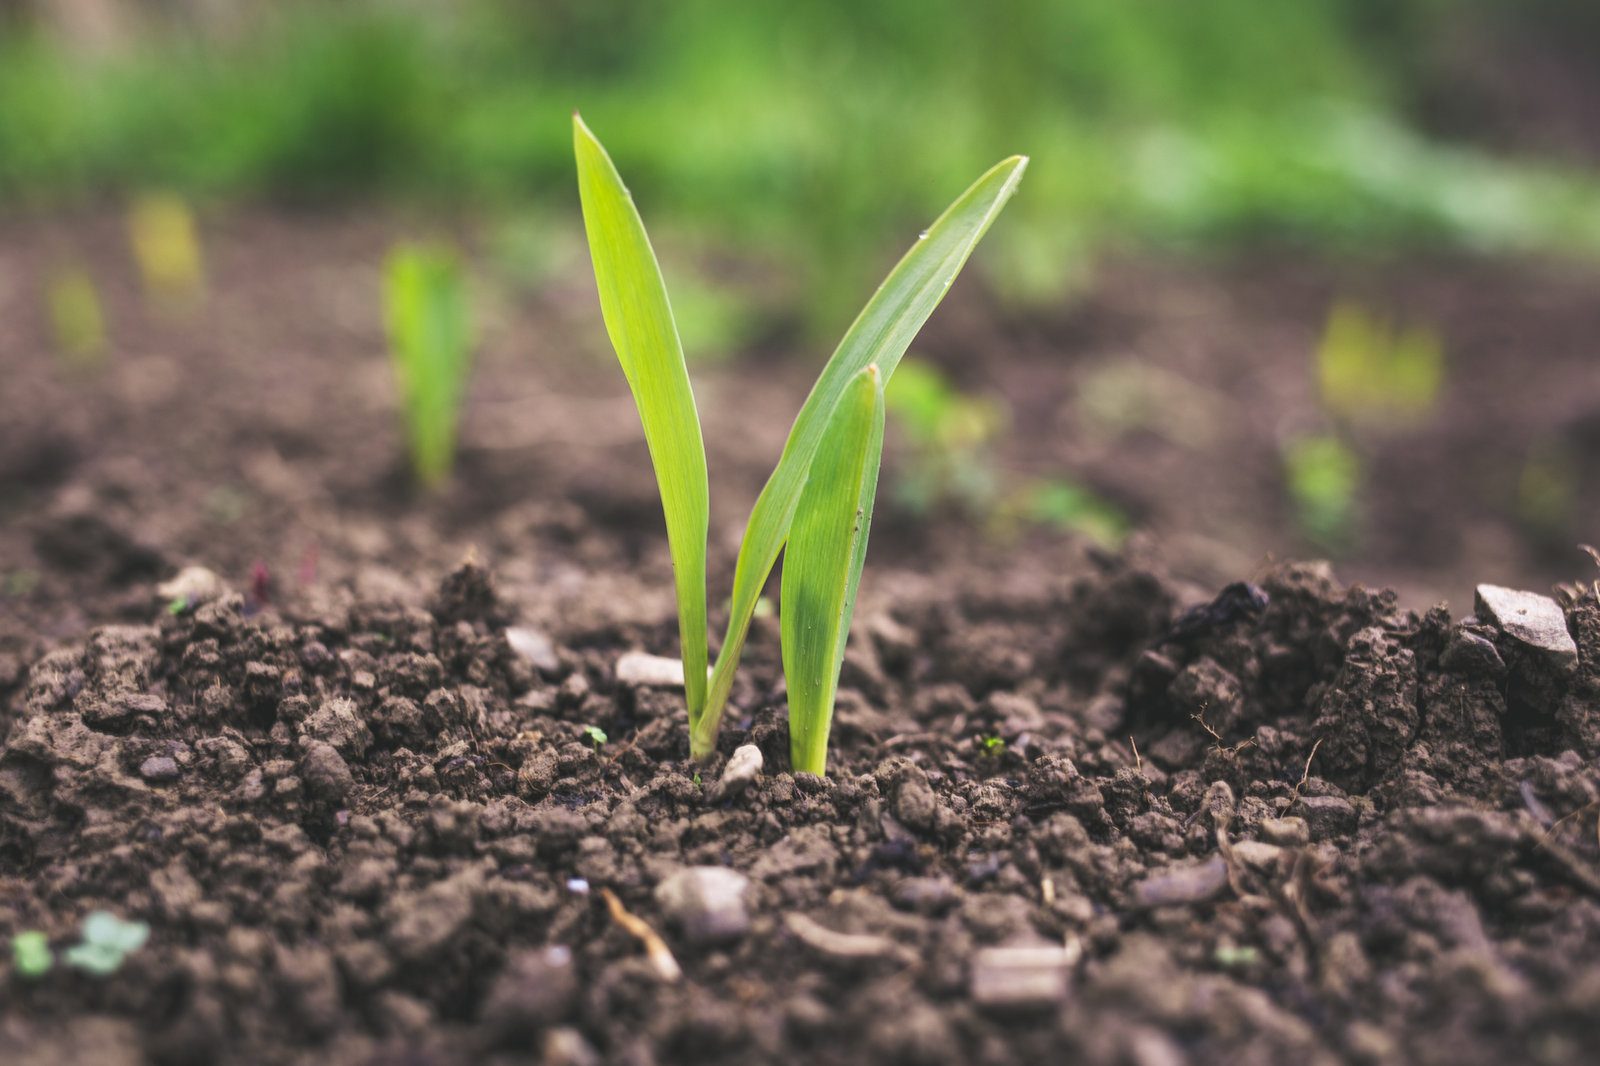
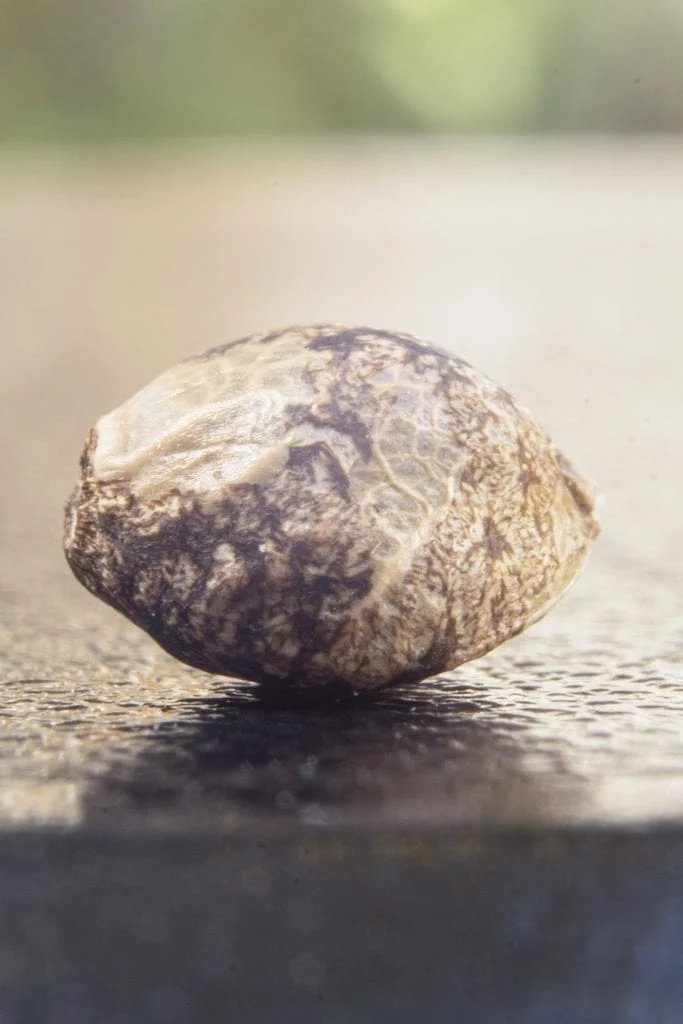
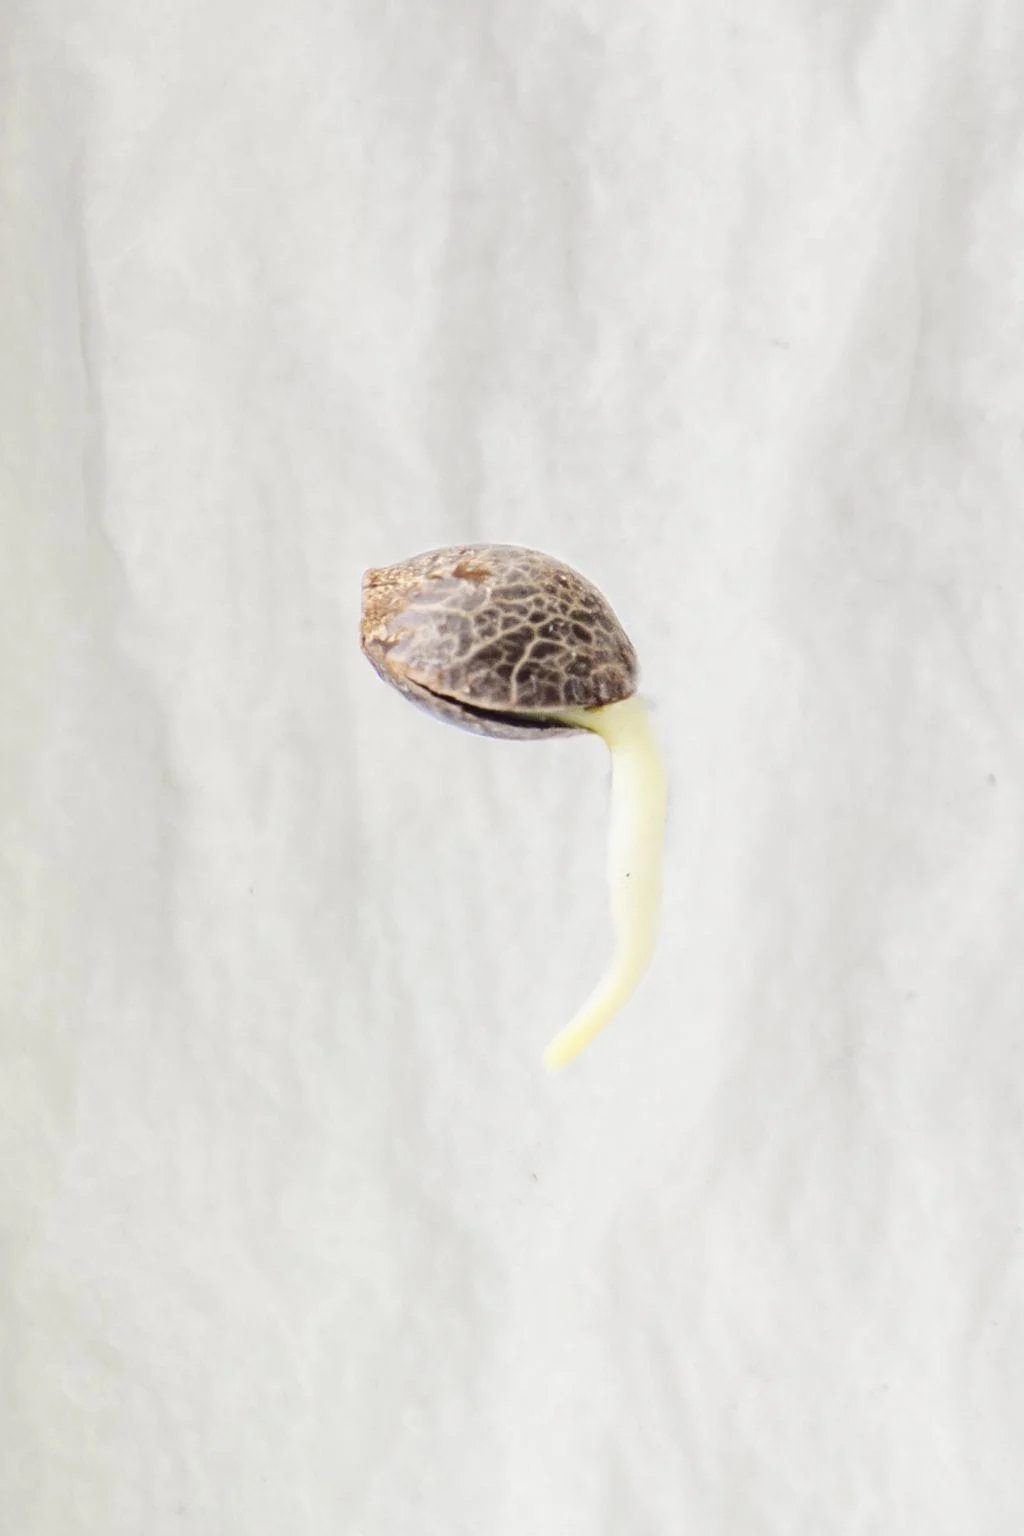
Now that your seeds are germinated, when you look at them the husk should be opened and there should be small taproot growing from one side of the seed. Once you have removed your seeds from the damp paper towel, poke a hole about 1/4-1 inch into your soil or substrate and cover the seed. Water lightly until the dirt is damp. Your seed should sprout within 2-3 days.
When to Switch Containers
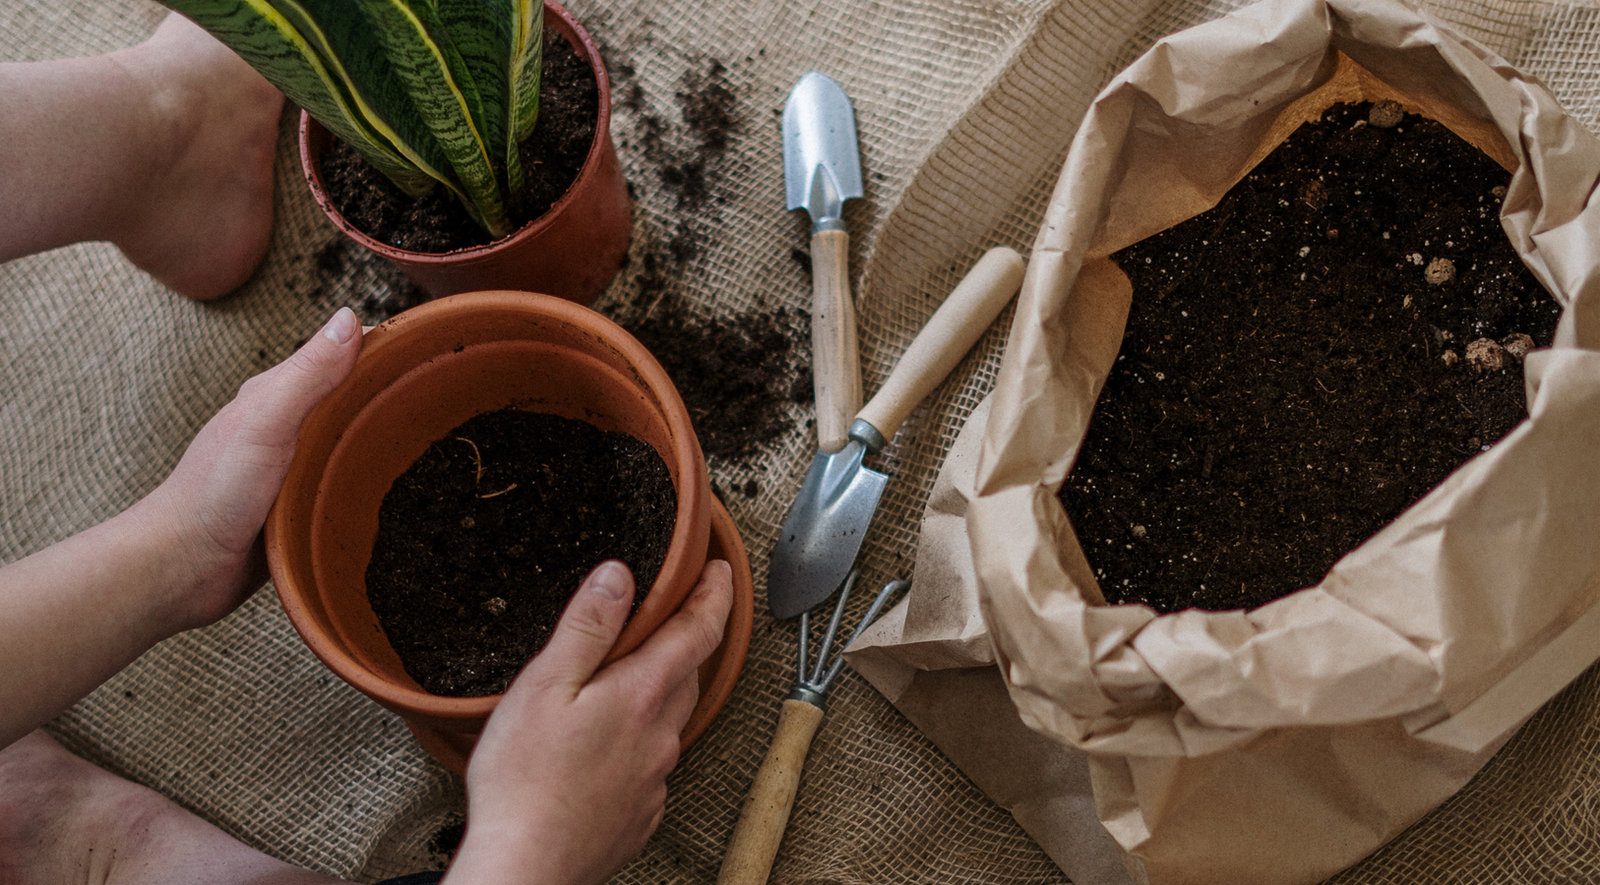
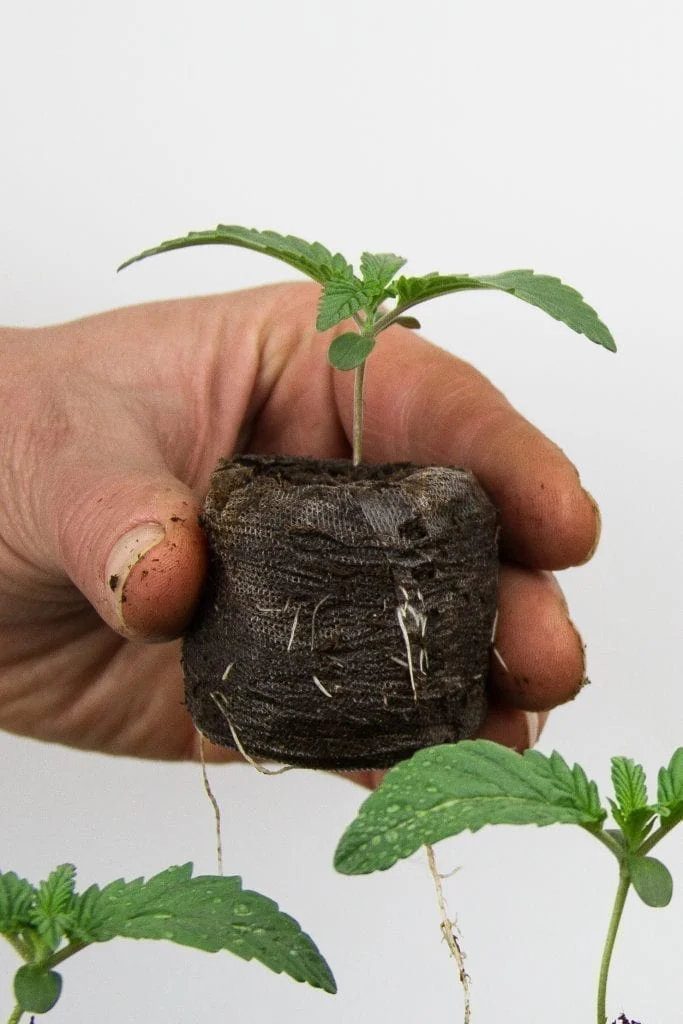
Once your seed has sprouted, continue to water it every 2-3 days keeping the soil slightly damp and never allowing it to get fully bone dry. Your baby plant should be ready to transfer into a larger pot in about 2-3 weeks! You should start out with your plants in the smallest container possible, and each plant should have its own pot about half a gallon or less.
***Tip:
- Soaking your seeds in a glass of water for more than 24 hours will deprive them of oxygen and they are likely to drown and may not sprout. A seed that sinks after 12 hours it’s likely to be viable and good for germination. If it floats, touch it, and it will probably sink. On the other hand, seeds that float after 12 hours are not likely to sprout soon.
***Tip:
- If you leave your seeds for too long in the container and do not plant them, they’ll grow a long taproot but they’ll end up dying without proper growing conditions. Set reminders and schedule your tasks